Welcome, foodies and health enthusiasts alike, to our culinary adventure today! We’re about to embark on a journey to discover the heartwarming delight of our Instant Pot Vegan Split Pea Soup. Not only is this recipe bursting with flavor and simplicity, but it also offers a plethora of health benefits thanks to the star ingredient – peas. So, let’s dive right in and explore the magic of this comforting dish.
The Health Benefits of Peas: Before we delve into the recipe, let’s take a moment to appreciate the nutritional powerhouse that is peas. These humble legumes are packed with goodness, making them a valuable addition to any diet:
- Rich in Fiber: Peas are an excellent source of dietary fiber, promoting digestive health and aiding in weight management by keeping you feeling full and satisfied.
- High in Protein: Despite their small size, peas boast a surprising amount of protein, making them an ideal choice for vegetarians and vegans looking to meet their protein needs.
- Loaded with Vitamins and Minerals: Peas are brimming with essential nutrients such as vitamin K, vitamin C, manganese, and folate, all of which play crucial roles in maintaining overall health and well-being.
- Heart-Healthy: The high fiber and low-fat content of peas contribute to heart health by helping to lower cholesterol levels and reduce the risk of heart disease.
- Antioxidant Properties: Peas are packed with antioxidants like flavonoids and carotenoids, which help combat oxidative stress and inflammation in the body, thereby reducing the risk of chronic diseases.

Instant Pot Vegan Split Pea Soup: A Hearty Delight
Equipment
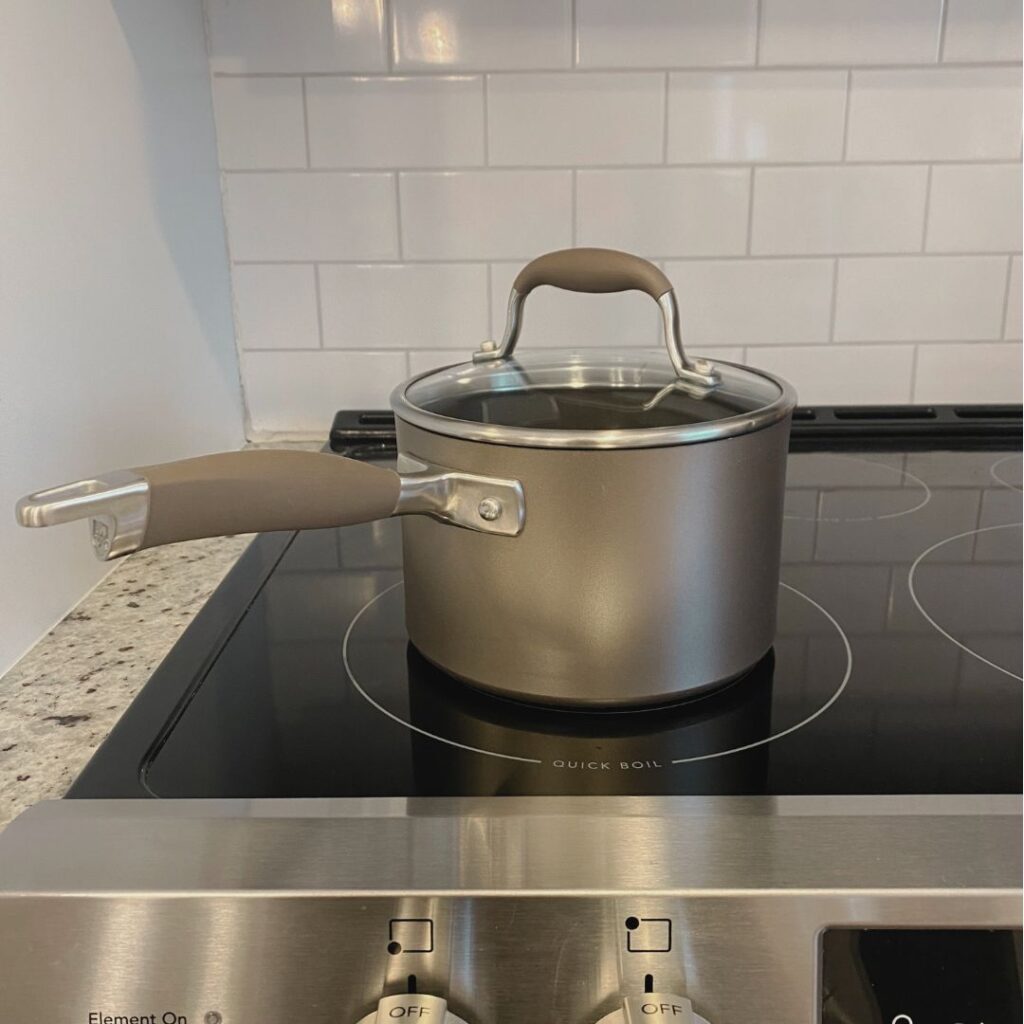
- 1 Instant Pot
Ingredients
- 4 shallots
- 2 tbsp minced garlic
- 1.5 lbs. russet potatoes chopped
- 2 cups carrots chopped
- 2 cups celery
- 4 cups frozen peas
- 1 lb. split peas rinsed
- 6 cups vegetable broth
- 1 bay leaf
- 1 tsp oregano
- 1 tsp thyme
- 1 tsp paprika
- 1/4 cup water
Instructions
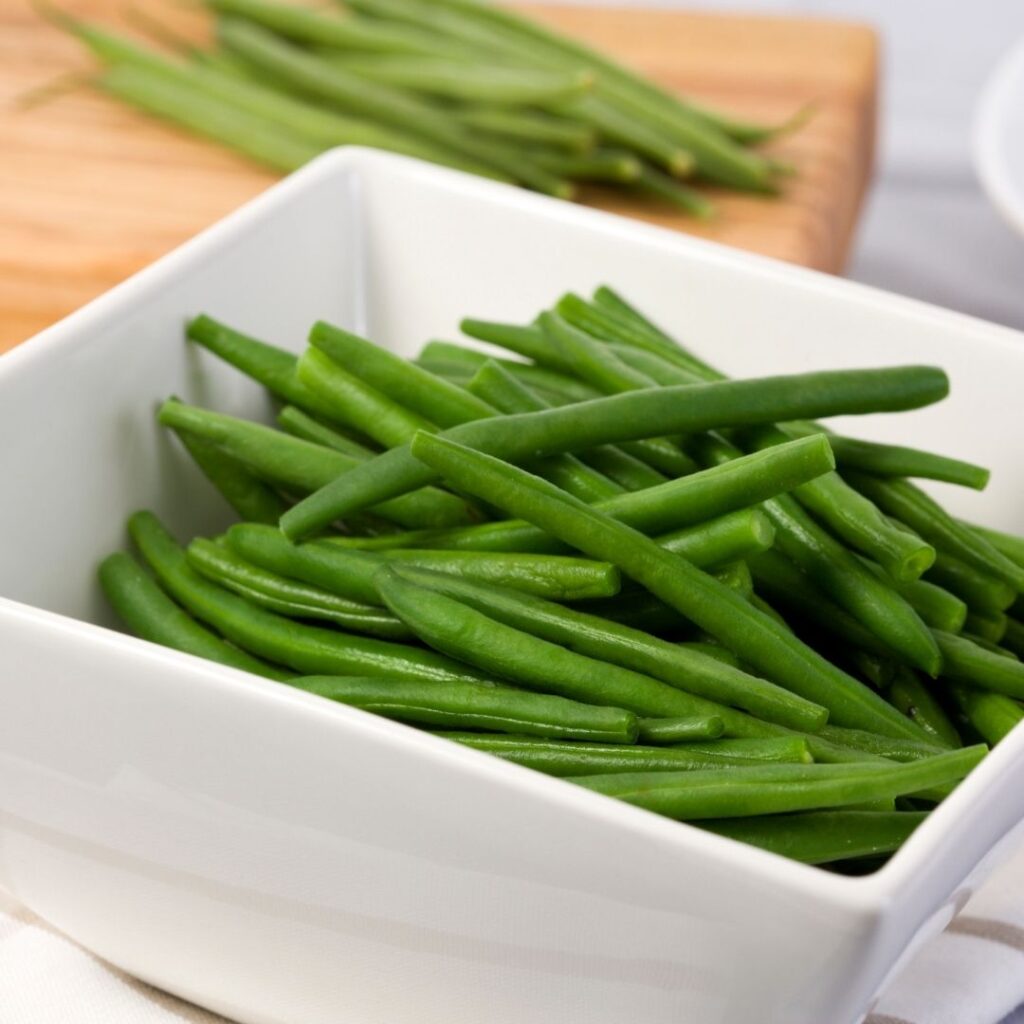
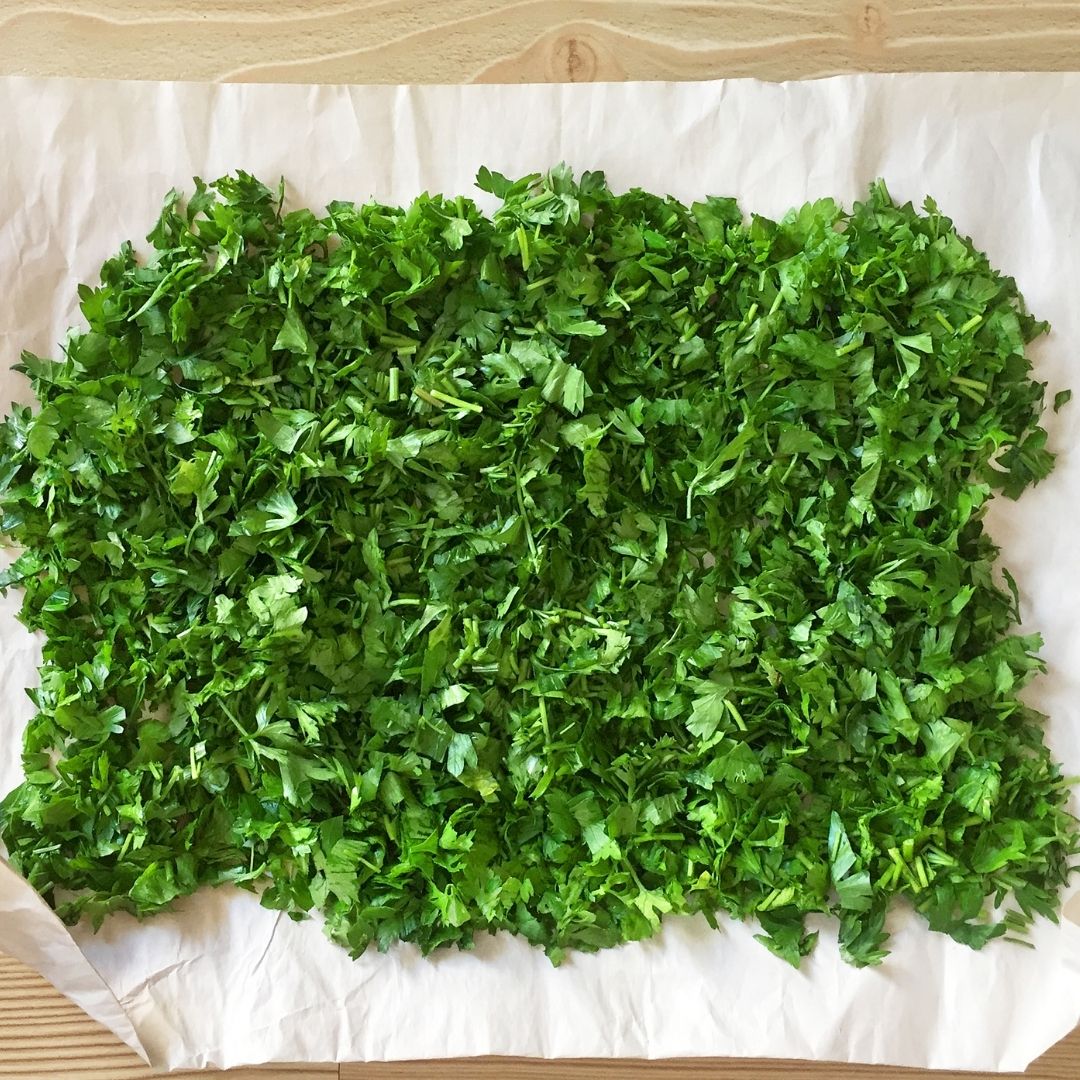
- Preparation: Before we get cooking, let's prep our ingredients to streamline the process: Chop celery, shallots, potatoes, and carrots. Rinse the split peas in a colander bowl.
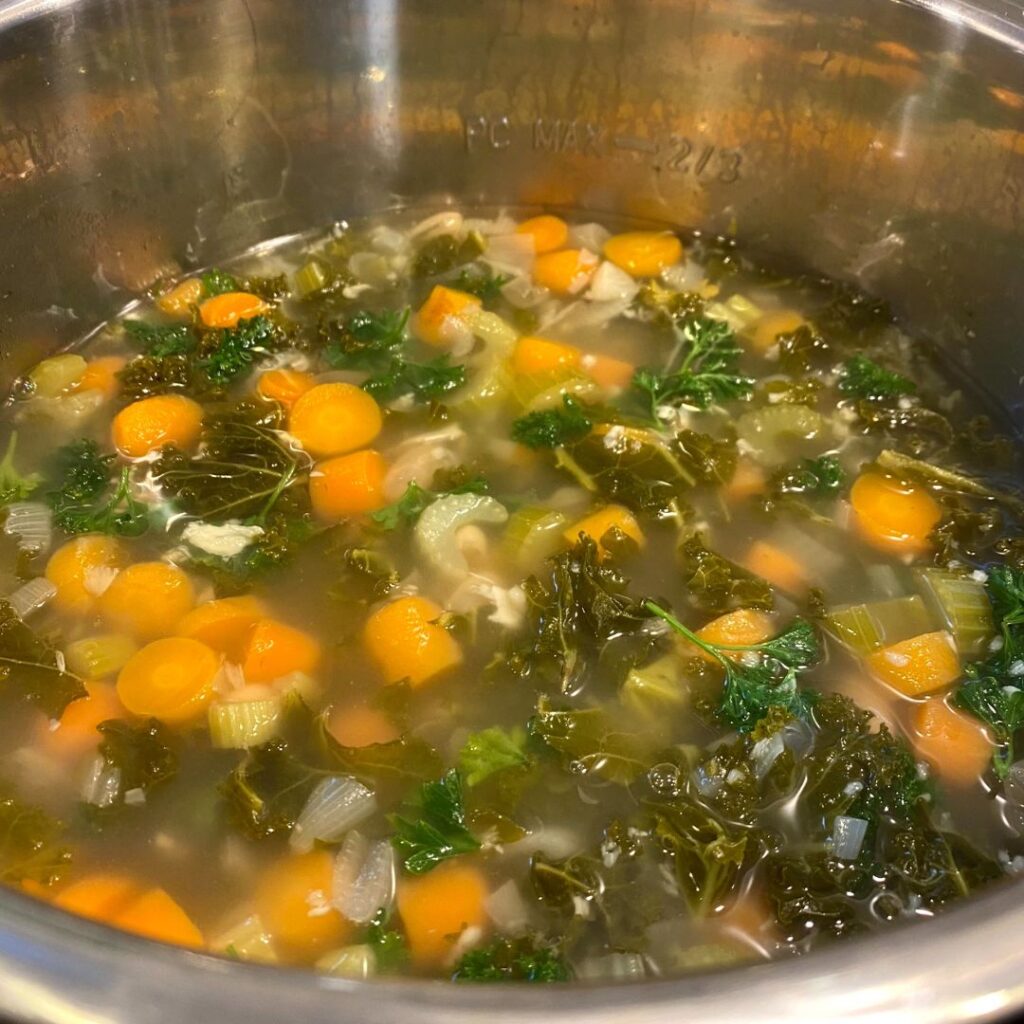
- Saute: In your Instant Pot, saute water, shallots, and garlic until fragrant. Then, add in the carrots, celery, and frozen peas. Season with oregano, thyme, and paprika, allowing the flavors to meld together beautifully.
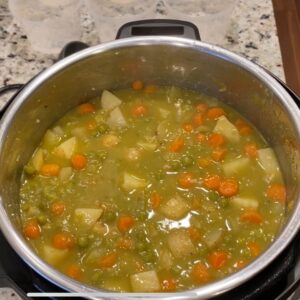
- Pressure Cooking: Once the veggies are tender and aromatic, it's time to add the remaining ingredients. Hit cancel on the Instant Pot. Pour in the vegetable broth, followed by the split peas and potatoes. Ensure the broth reaches the max line for optimal consistency. Don't forget to tuck in the bay leaf for that extra depth of flavor!
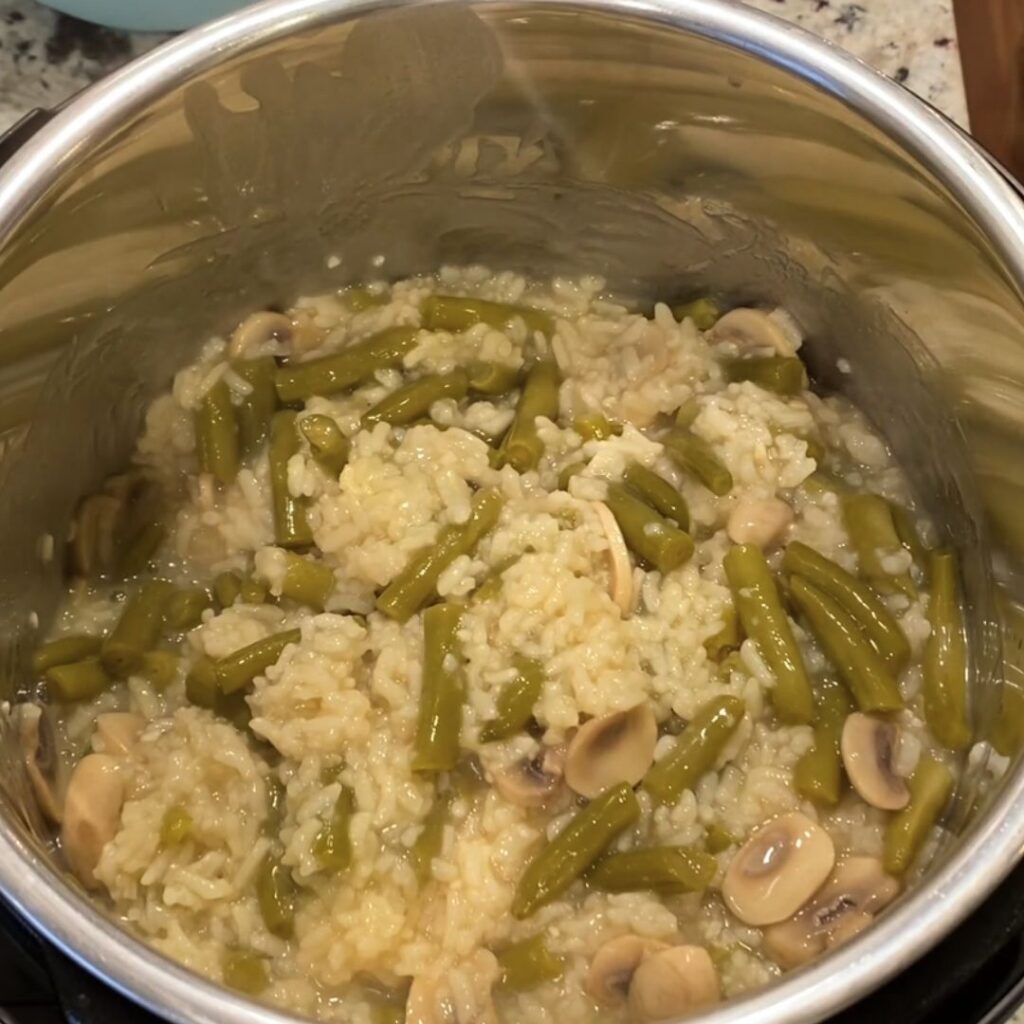
- Cook: Lock the Instant Pot lid in place and set it to pressure cook for 10 minutes. After the cooking cycle is complete, allow for a natural release for an additional 10 minutes to let the flavors intensify.
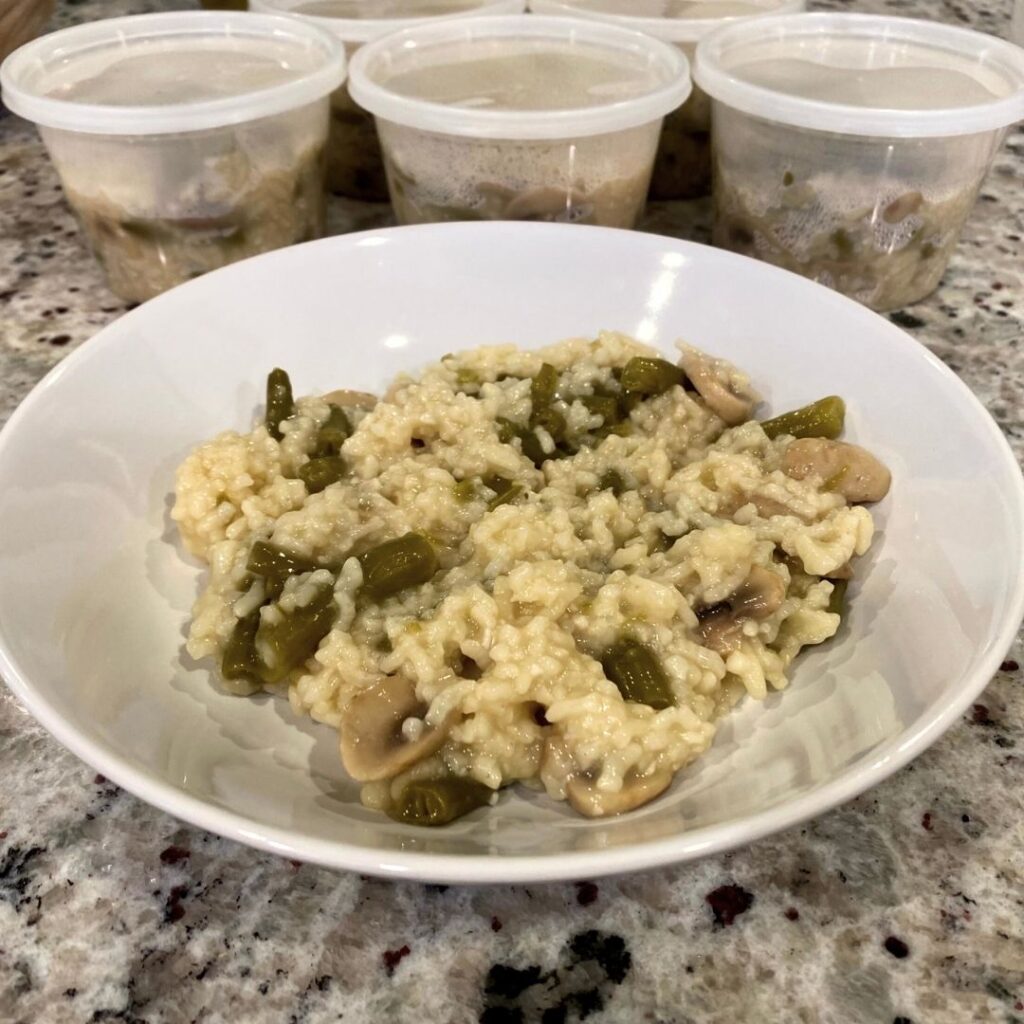
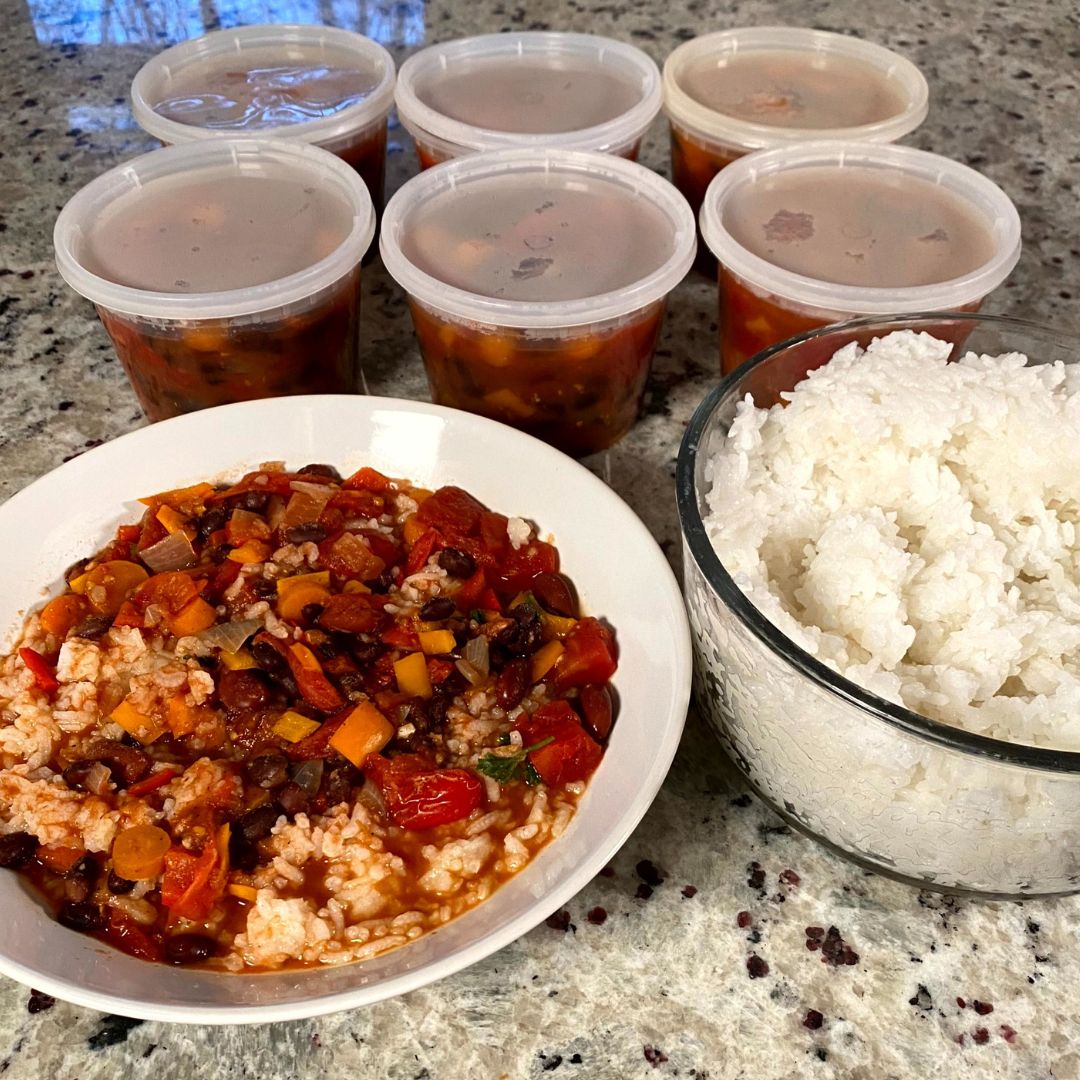
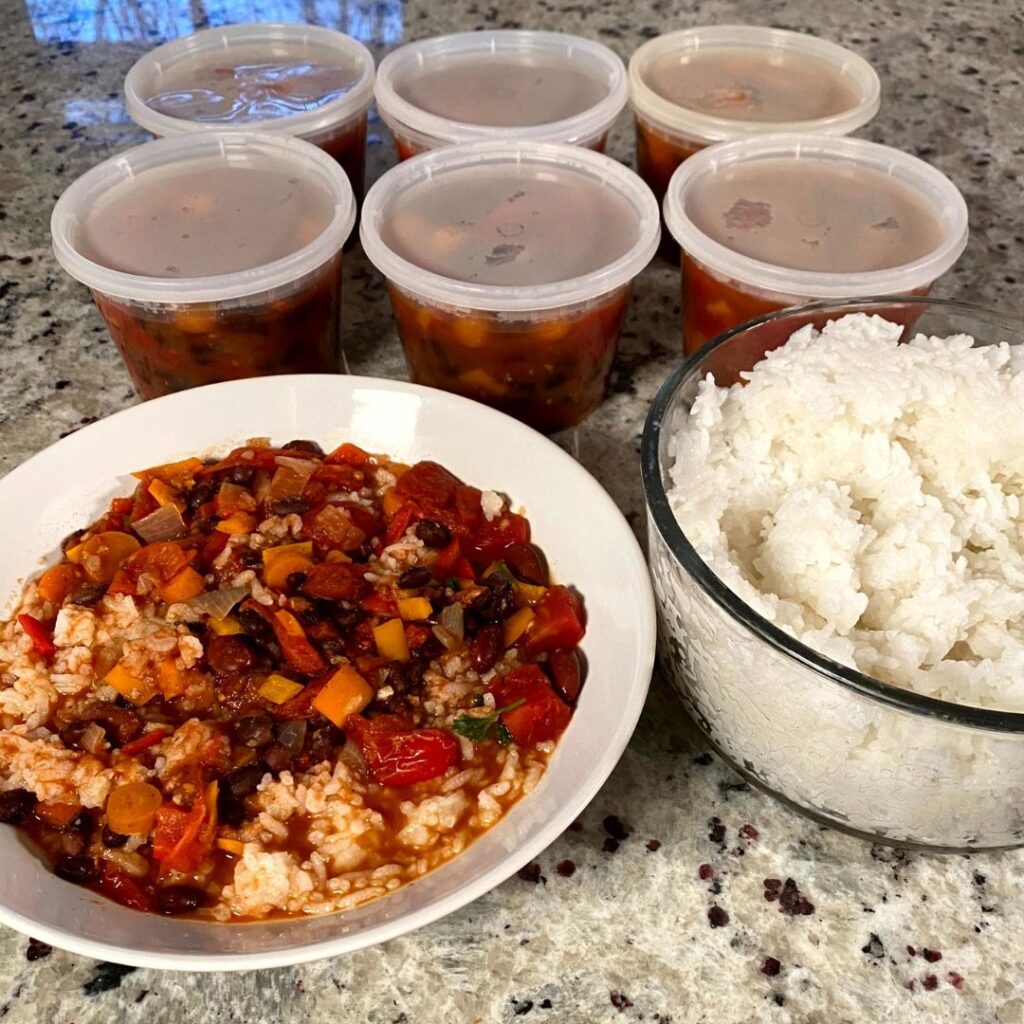
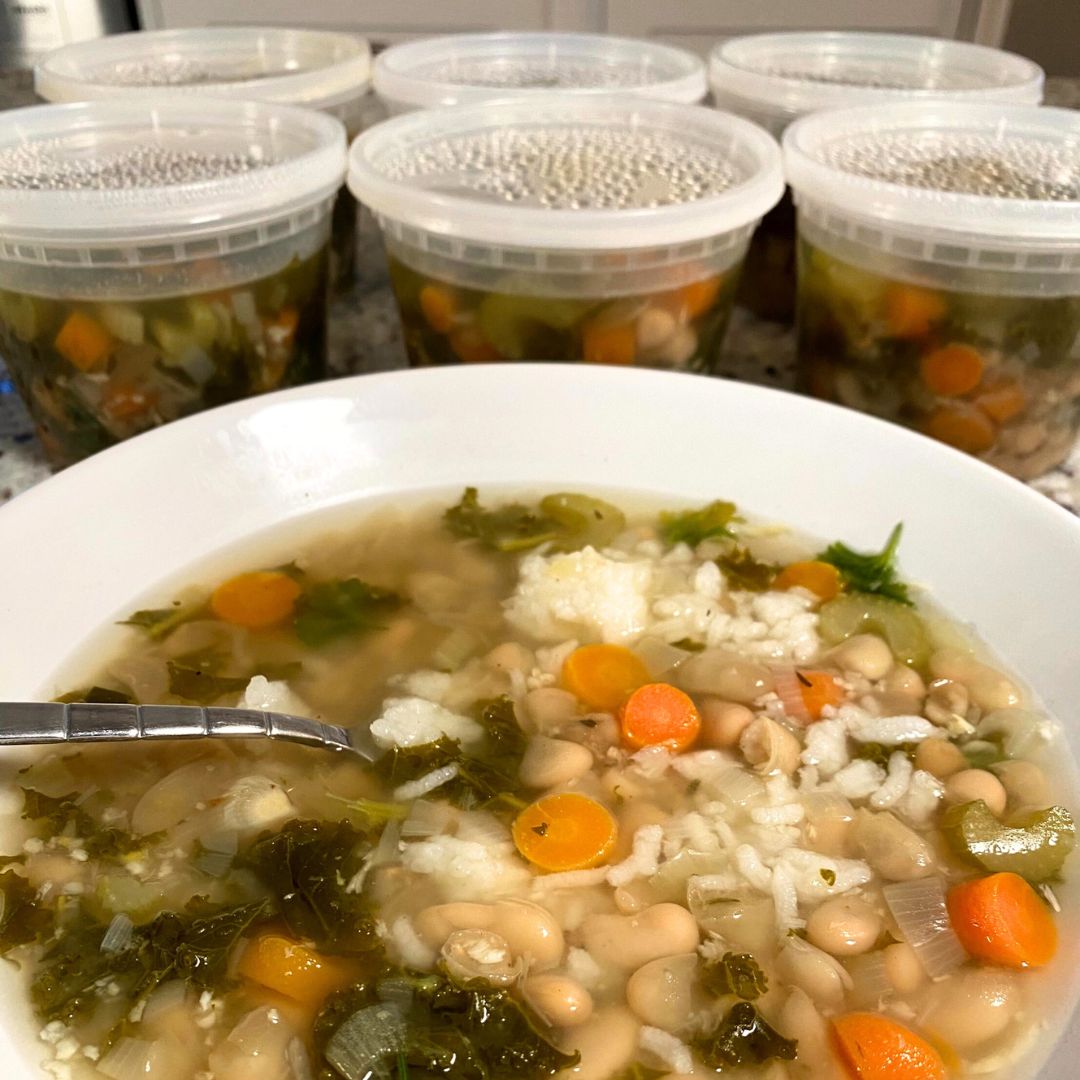
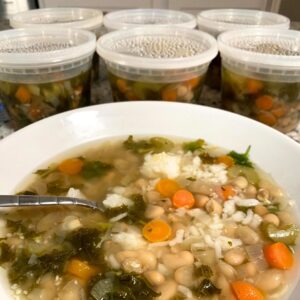
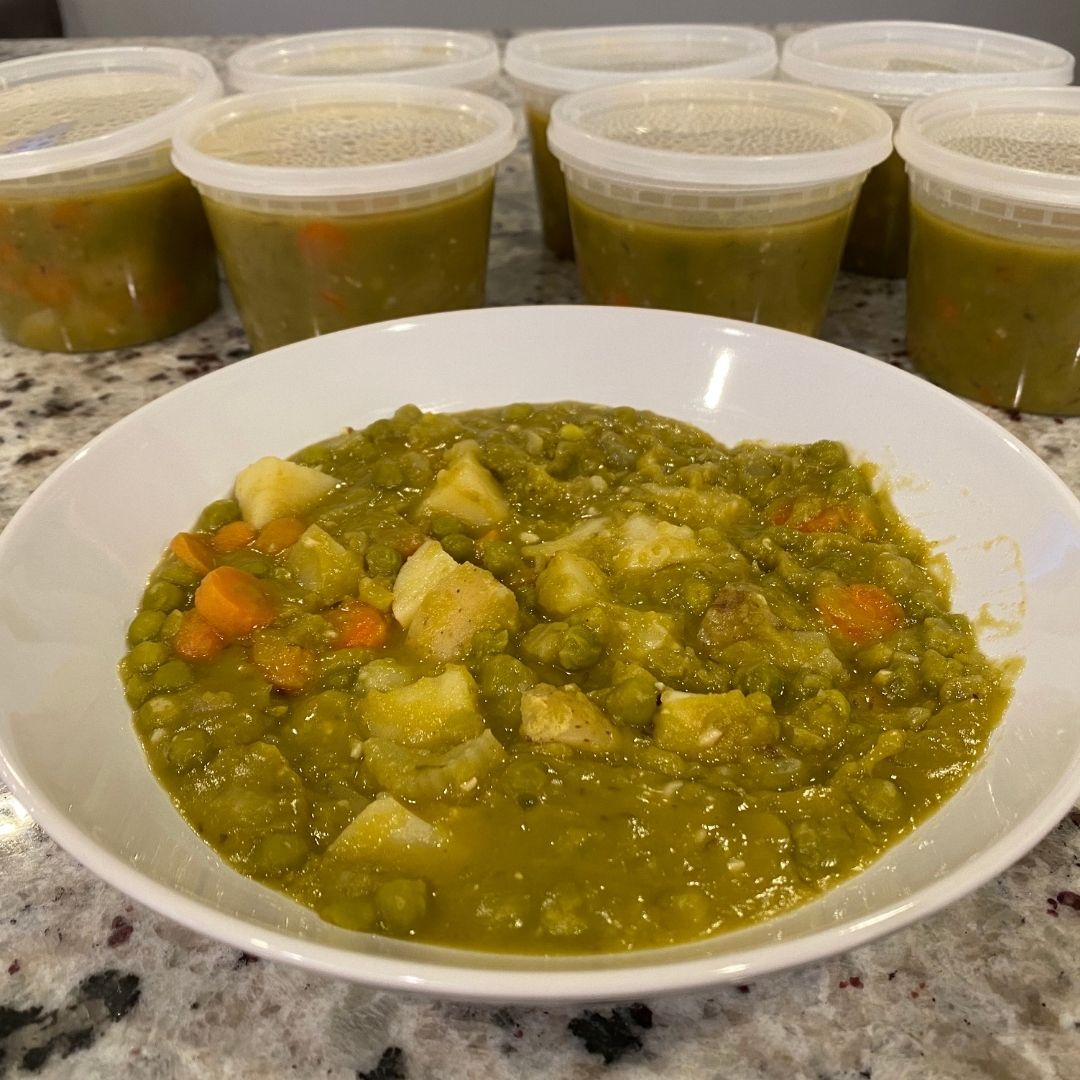
- Finishing Touches: Carefully remove the bay leaf from the soup and discard it. Now, it's time to ladle this wholesome creation into pint cups, ready to be enjoyed or stored for later. This recipe yields 8 satisfying servings, plus a little extra for sampling!
And there you have it – our Instant Pot Vegan Split Pea Soup, a wholesome and nourishing dish that’s as good for your taste buds as it is for your body. So why not treat yourself to a bowl of this hearty goodness today? Your taste buds and your health will thank you for it!

Remember, eating well doesn’t have to be complicated. With simple, nutritious recipes like this one, you can enjoy delicious meals that fuel your body and soul. So go ahead, give it a try, and let the magic of peas elevate your culinary experience to new heights. Cheers to good food and good health!