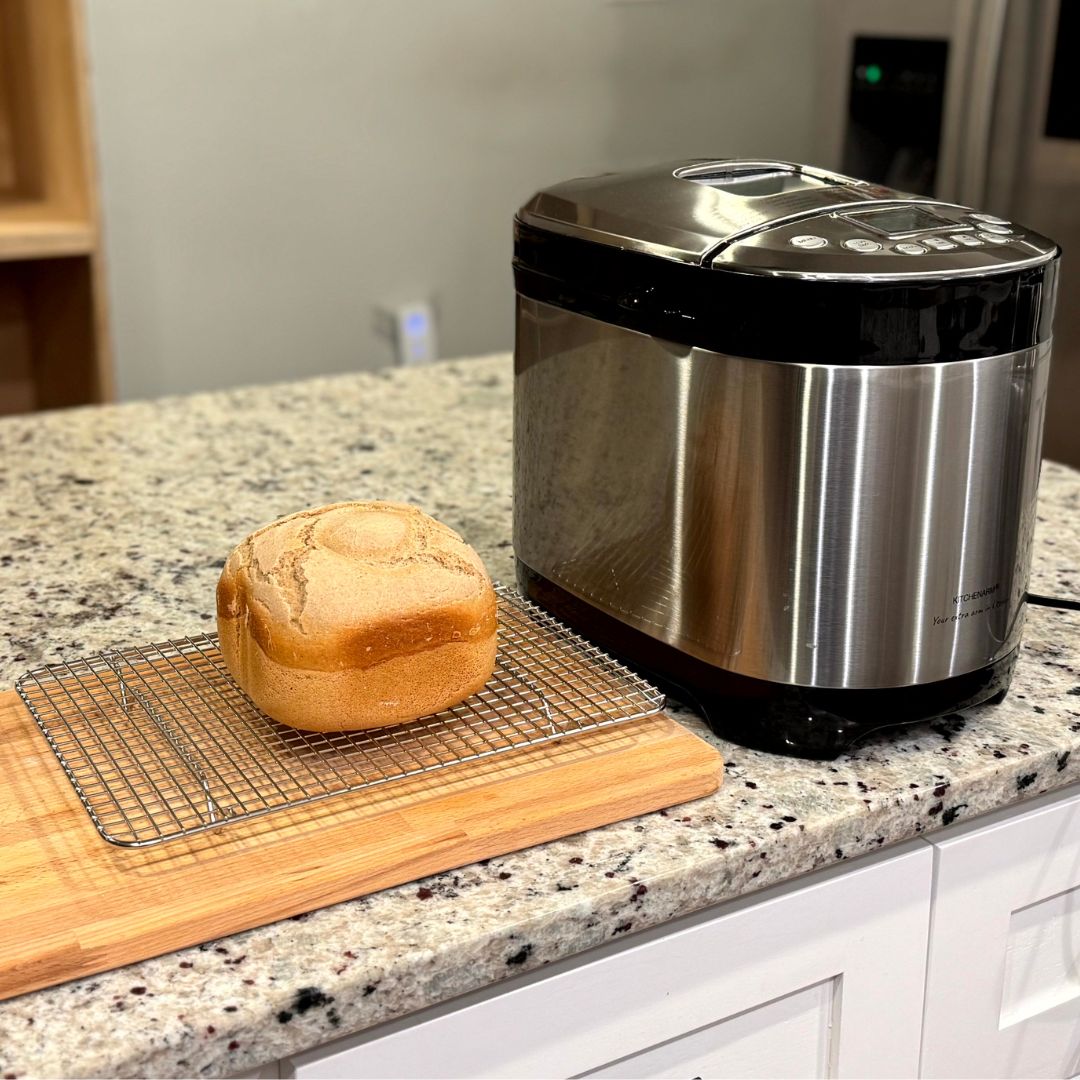
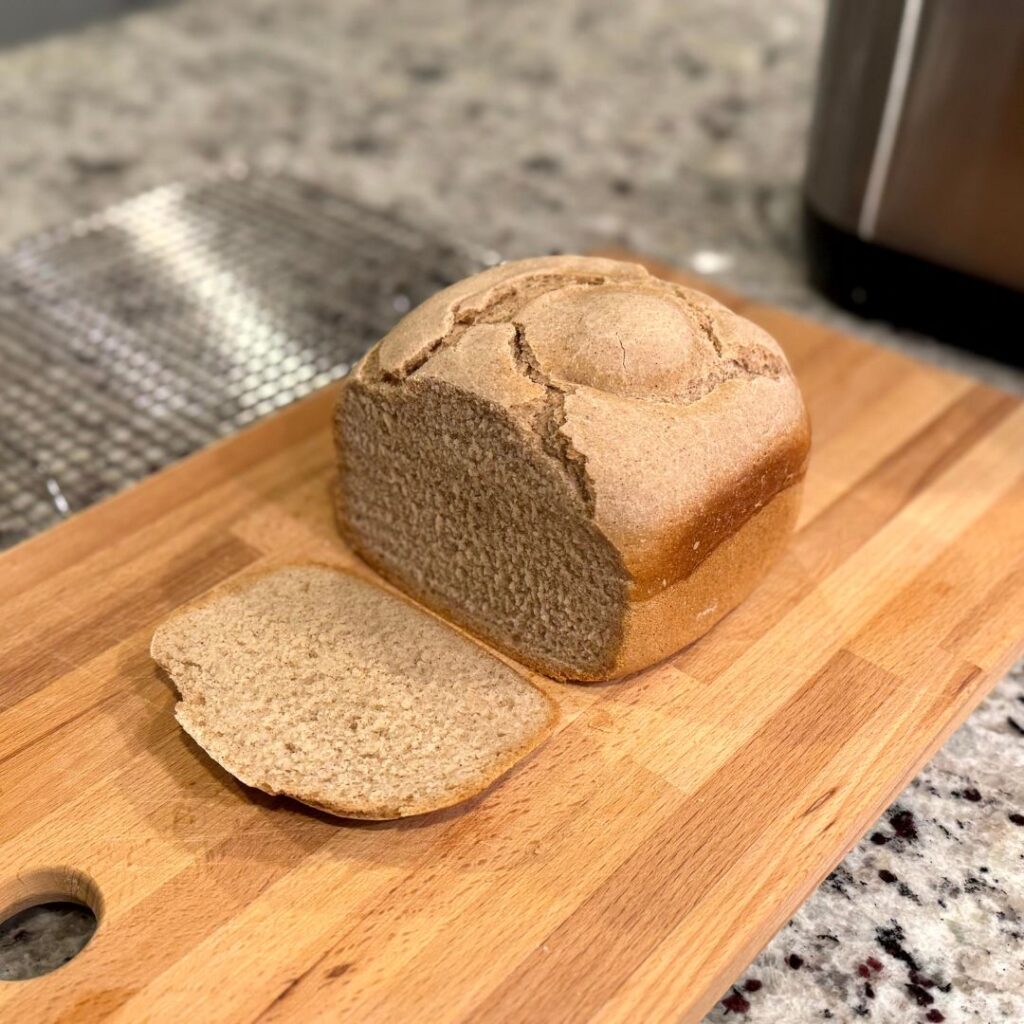
There’s nothing quite like the smell of fresh-baked bread wafting through the kitchen—especially when it’s a soft, gluten-free, and completely vegan loaf that you made yourself with minimal effort. This Bread Machine Gluten-Free Vegan Sorghum Rice Bread has quickly become a weekend ritual in our house. It’s the kind of bread you can rely on for toast in the morning, sandwiches at lunch, or even a warm slice with a little vegan butter when you’re craving comfort food. In the step-by-step YouTube video, I walk you through every part of this recipe—from measuring the flours to setting the bread machine—so you can bake this loaf right along with me.
One of the biggest game-changers in gluten-free baking is using a kitchen scale to measure your ingredients—especially the flours and starches. In traditional baking, scooping a cup of flour might work okay, but gluten-free blends are a little more sensitive. Measuring by weight gives you consistency every single time. One loaf won’t rise beautifully while the next flops—all because of a scooping difference. When it comes to gluten-free bread, grams are your best friend. Once I started using a digital scale, my loaves became so much more reliable—and delicious!
Now, let’s talk ingredients. This recipe keeps things simple but powerful with just a few gluten-free pantry staples. The dry blend includes potato starch, sorghum flour, and brown rice flour—a trio that gives this bread a soft crumb and golden crust. Xanthan gum adds a bit of structure in place of gluten, and instant yeast gives the rise. On the liquid side, we’ve got water, olive oil, and maple syrup, which not only helps with rising but adds just a touch of subtle sweetness. It’s a beautiful balance of whole-grain flavor and light texture—great for everything from avocado toast to hearty sandwiches.
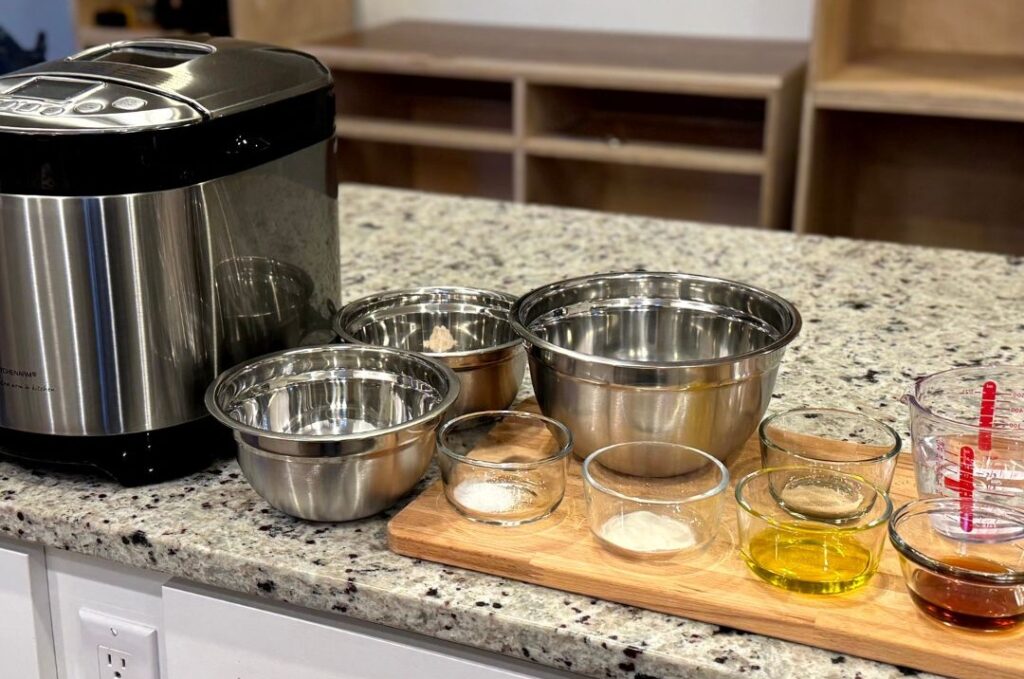
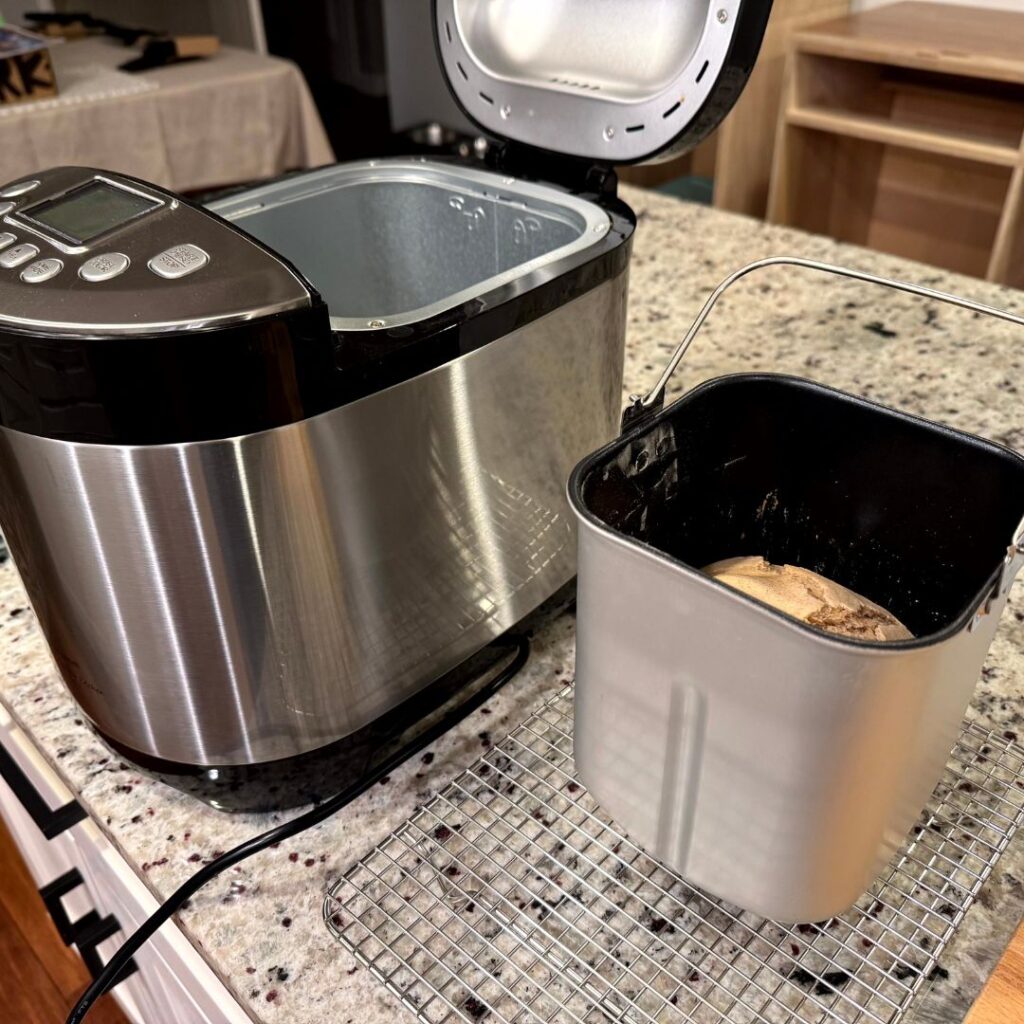
To make this bread, I use the KITCHENARM 29-in-1 SMART Bread Machine. It has a dedicated gluten-free setting that’s been incredibly reliable and easy to use—plus, the dark crust option gives this loaf a gorgeous finish. For flours, I’ve tested several, and love both Food to Live Organic Potato Starch and Bob’s Red Mill Potato Starch as options. For sorghum flour, I’ve used both Food to Live Organic Sorghum Flour and Bob’s Red Mill Sorghum Flour. I’ve also had great results with Bob’s Red Mill Brown Rice Flour. Everything gets portioned out in my trusty stainless steel mixing bowls, and I use this measuring cup set for liquids and smaller ingredients. Once the bread is done, I store it in this airtight Tafura Bread Container to keep it fresh for up to three days—if it lasts that long!


Bread Machine Gluten-Free Vegan Sorghum Rice Bread – 1.5 lb.
Equipment
- 1 Bread machine with gluten-free setting
Ingredients
Liquids
- 1 1/4 cup water room temperature (300 ml or 300 grams)
- 2 1/2 tbsp olive oil
- 2 tbsp maple syrup room temperature
Dry Ingredients
- 199 grams potato starch 1 3/8 cups
- 116 grams sorghum flour 7/8 cup
- 65 grams brown rice flour 1/2 cup
- 1 tsp salt
- 1 3/4 tsp xanthan gum 5.3 grams
- 1 tsp instant active yeast 3 grams
Instructions
Prep Like a Pro
- Measure the maple syrup and water first, and allow them to come to room temperature. Cold ingredients can mess with the rise.
- For best results, weigh your flours and starch using a digital kitchen scale. Trust me, it makes a huge difference in gluten-free baking!
Secure the Paddle
- Double-check that the paddle is locked in place at the bottom of your bread maker’s pan. You don’t want to forget that step (I speak from experience).
Layer the Ingredients
- First, the liquids: water, maple syrup, and olive oil.
- Next, the dry ingredients: potato starch, sorghum flour, brown rice flour, salt, and xanthan gum.
- Last but not least: sprinkle the yeast right in the center, on top of the flour. Avoid letting it touch the liquid—this helps control the rise time.
Set It and Forget It (Almost)
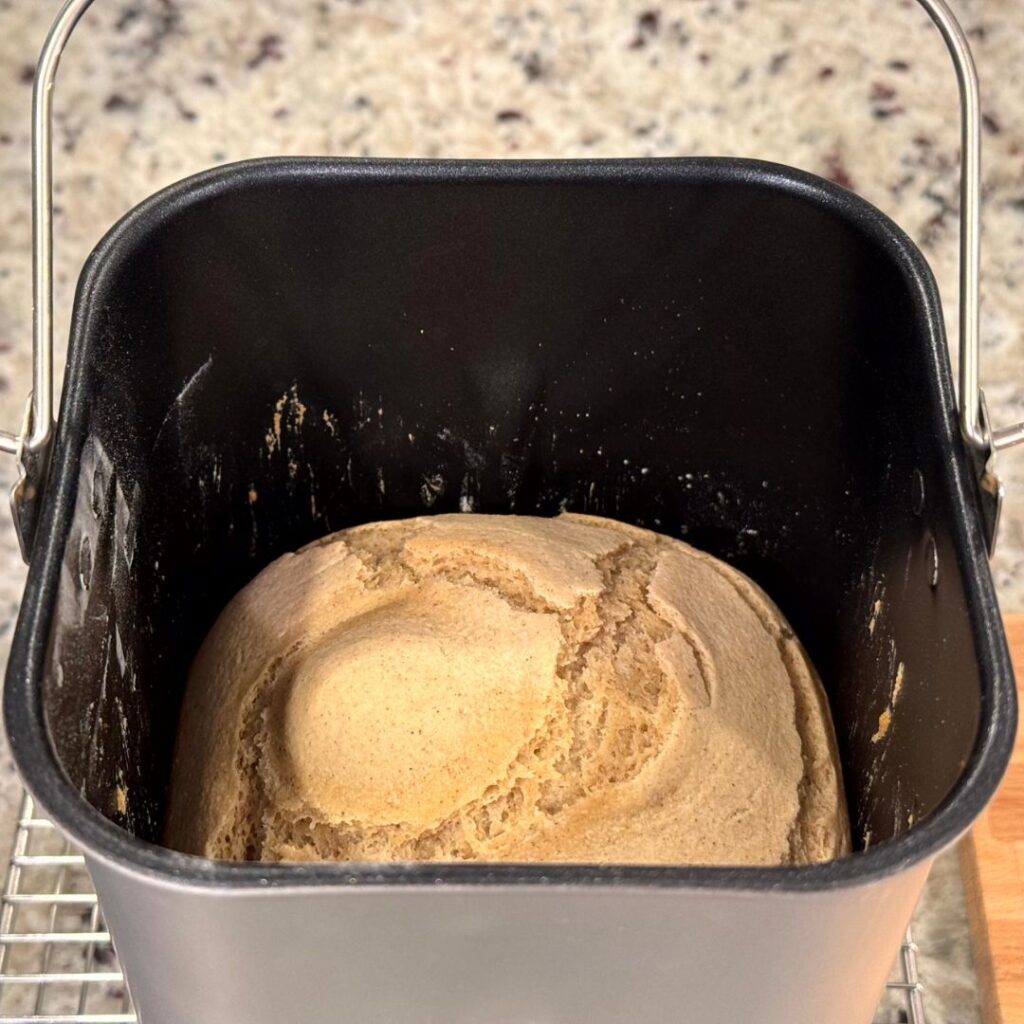
- Select the gluten-free setting on your bread machine. Be sure to set it to a 1.5 lb loaf. I also like to choose the dark crust option for a little extra texture. Hit start and let your machine do the work: mix, rise, and bake!
Cool and Serve
- When the cycle is complete, let the bread sit in the pan with the lid open for a few minutes. Carefully remove the pan using oven mitts—it's hot! Flip the pan and gently shake the loaf out. Use the metal hook (if provided) to remove the paddle from the bottom. Let the loaf cool completely on a wire rack before slicing or storing.
Notes
I hope you give this recipe a try! Whether you’re new to gluten-free baking or a seasoned pro, this bread is one of those staples you’ll want to make again and again. It’s reliable, delicious, and oh-so-easy thanks to the bread machine. If you bake it, I’d love to hear how it turns out for you. Drop a comment below or tag me on social—there’s nothing better than seeing your creations come to life. Happy baking!